A personal locator beacon can bring rescuers to you almost anywhere in Australia. It is also the piece of gear people are least sure how to use. When do you press the button? What happens next? And what should you have done before you left home?
This guide covers all of it. It comes from my free Adventurous Journey Planning Handbook and Field Guide to Adventurous Journeys, and from about 15 years as a Scout leader in the Blue Mountains, and over 40 years of Scouting.
 5:17
What a PLB Does
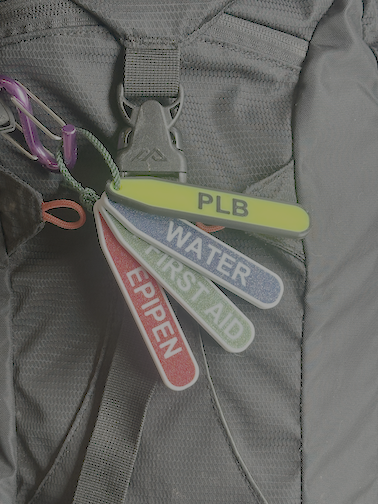
A PLB is a small emergency beacon. Activate it and it sends a distress signal by satellite, with your location. Most beacons only send: they call for help, but you can't send a message with one.
In Australia the alert goes to the Australian Maritime Safety Authority (AMSA), and on to the rescuers near you.
- Register your beacon with AMSA. It's free, and it means they can call your emergency contacts straight away.
- Keep your details up to date, and check the battery expiry date on the label.
- Use the self test the way the maker says. Testing too often can drain the battery.
- If you're buying one, choose a beacon with GPS built in. It sends a more precise location.
Borrowing a PLB in NSW
No beacon? In New South Wales you can borrow one free from some National Parks offices, like the Blue Mountains Heritage Centre in Blackheath. After hours, Katoomba and Springwood police stations lend them too. You fill in a trip intention form when you pick one up. Trip intentions: what to leave and with whom explains what goes on it.
Use Your Comms in Order
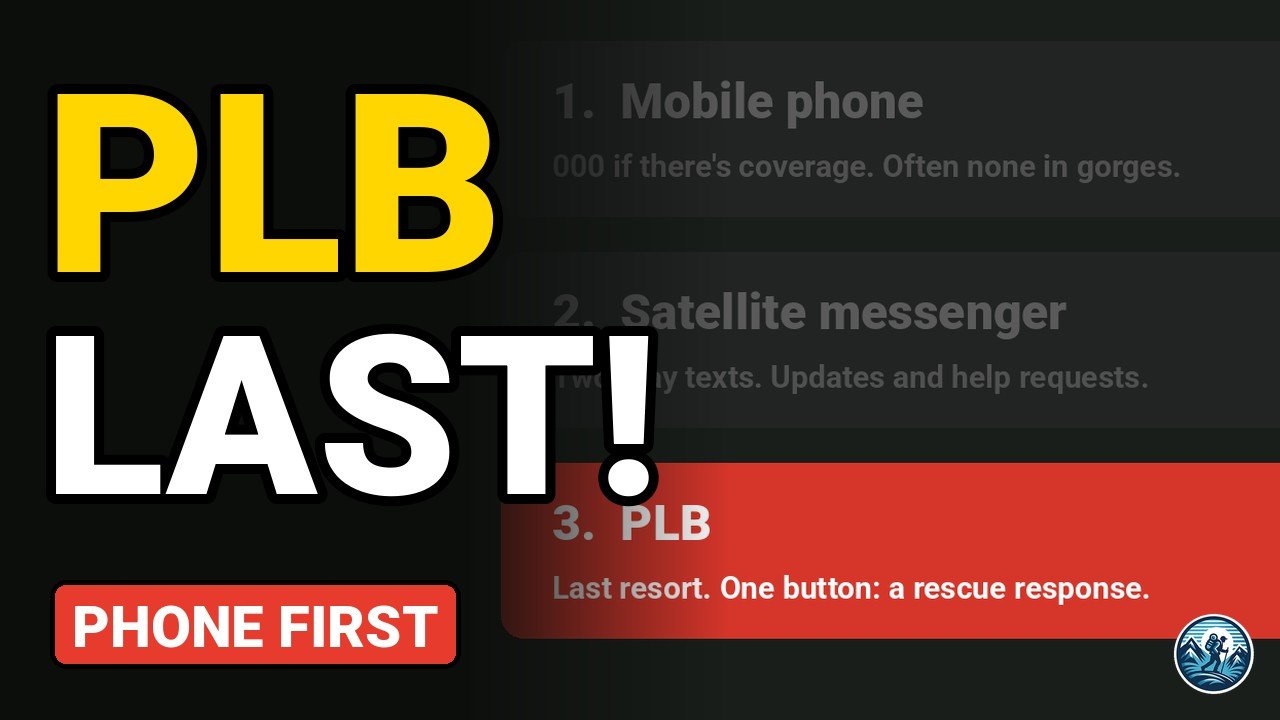
A beacon is your last resort, not your first call. Use your communications in order:
- A mobile phone. Call 000 if you have coverage. Moving one person to higher ground can help. The free Emergency+ app shows your location so you can read it out.
- A satellite messenger. Two-way texts, so you can send updates or ask for help without a full rescue.
- The beacon. One button, and a search and rescue response begins.
Phones often have no signal in gorges and thick bush, so the beacon may be the only thing that works. Communication plans for remote activities compares the devices in more detail.
When to Activate: the Two Conditions
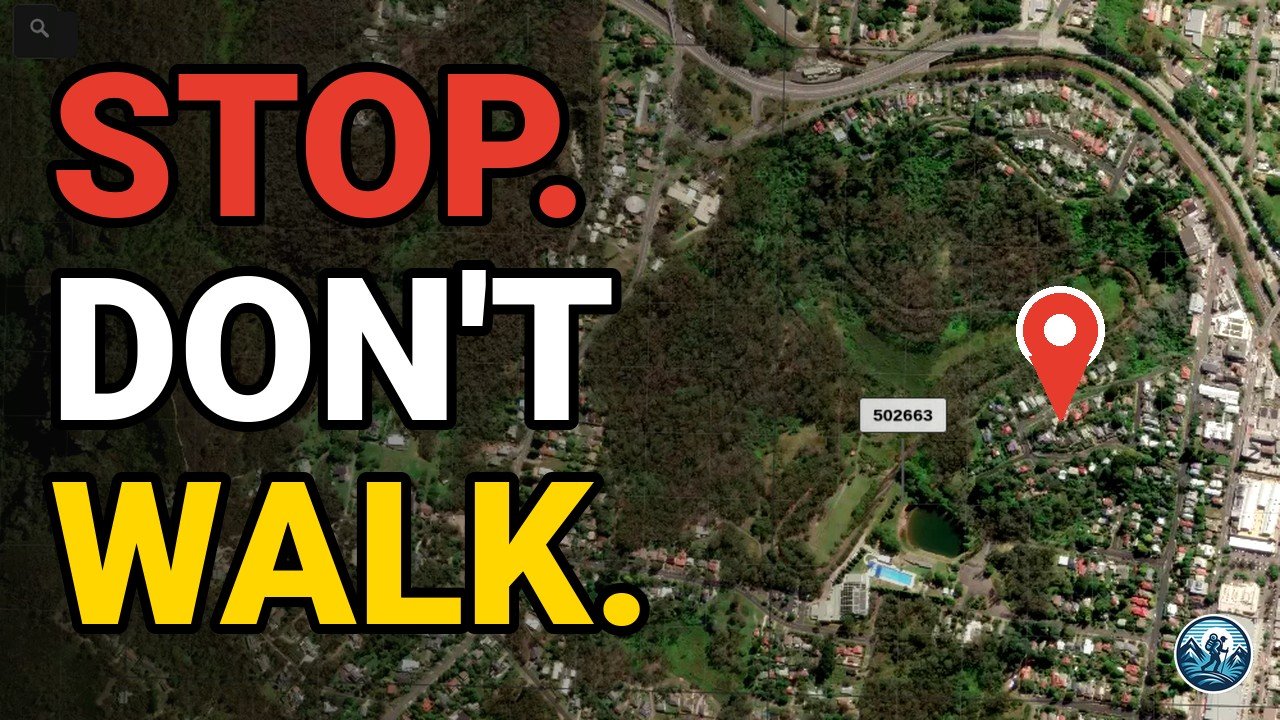
In any emergency, stop first and make the scene safe, so no one else gets hurt. Then activate the beacon when both of these are true:
- A life is at risk, or the group can't get itself out.
- You can't reach help any other way. You've tried the phone and the messenger.
If both are true, activate. Don't wait for dark, or for someone to get worse. If you need help but no one's life is at risk, use the phone or messenger instead, because a beacon starts a full rescue.
And a beacon isn't the whole plan. It brings rescuers. It doesn't treat injuries, keep people warm or calm a scared group. Emergency response in the Australian bush and first aid priorities in the bush cover the rest.
After You Activate
Once it's on, there are four things to do:
- Leave it on. Don't switch it off to check it.
- Stay where you are, if it's safe. If not, move to the nearest clear, open ground.
- Keep the beacon's view of the sky clear, with the antenna up.
- If a helicopter may come, clear a landing area at least 30 metres across.
Then make yourselves easy to see: bright clothing, a torch at night, and stay together. Help can take hours, so keep the patient warm and the group together and calm.
The Six Things Emergency Services Need
When you do reach emergency services, they need six things. Write them down first, because recall is unreliable under stress.
- Your location: a 6-figure grid reference or a What3Words address, plus a description.
- What happened, and when.
- The number of patients, and their condition.
- Who's in your group.
- How they can contact you.
- Your resources: first aid, shelter, water and daylight.
That's why every point in your plan needs a grid reference. If you're not confident reading one, how to read a 6-figure grid reference walks through it.
Plan Your Comms Before You Go
For each leg of the trip, write down three things: the expected phone coverage, your backup device, and your nearest exit point. Charge every device before you leave, and take a power bank or spare batteries.
Then leave your plan with your emergency contacts, with your daily positions, check-in times and a trigger time. The trigger time is when they'll call for help if they haven't heard from you. And carry the beacon on you, not buried in a pack.
Put It in Your Written Plan
Put it all in your written plan, so it travels with the group even when the phone is flat. In the free planner, the printed day sheet carries the grid reference for each leg. Note the nearest hospital and police station on it as well. Give a copy to your emergency contacts and carry one in the group.
A beacon is the last resort. Your plan is what makes it work.
Frequently Asked Questions
When should you activate a PLB?
When a life is at risk or the group can't get itself out, and you can't reach help any other way. If both are true, activate and don't wait.
Is PLB registration free in Australia?
Yes. Registering with AMSA is free, and it means they can call your emergency contacts straight away.
Can you send a message with a PLB?
Most beacons only send a distress signal and your location. For two-way messages you need a satellite messenger.
Can I borrow a PLB in the Blue Mountains?
Yes. Some NSW National Parks offices lend them free, like the Blue Mountains Heritage Centre in Blackheath, and after hours Katoomba and Springwood police stations lend them too.